
Bye Orange + There’s Nothing Wrong With a Single Pivot.
Intro:
I originally wrote this article in 2022 and was inspired to update it and publish on this new site after being gutted to see Orange Bikes filing [cabinet] for bankruptcy with many other bike companies at the moment. I had a bunch of Orange Bikes in the past as well as seeing my heroes racing and winning on them for years.
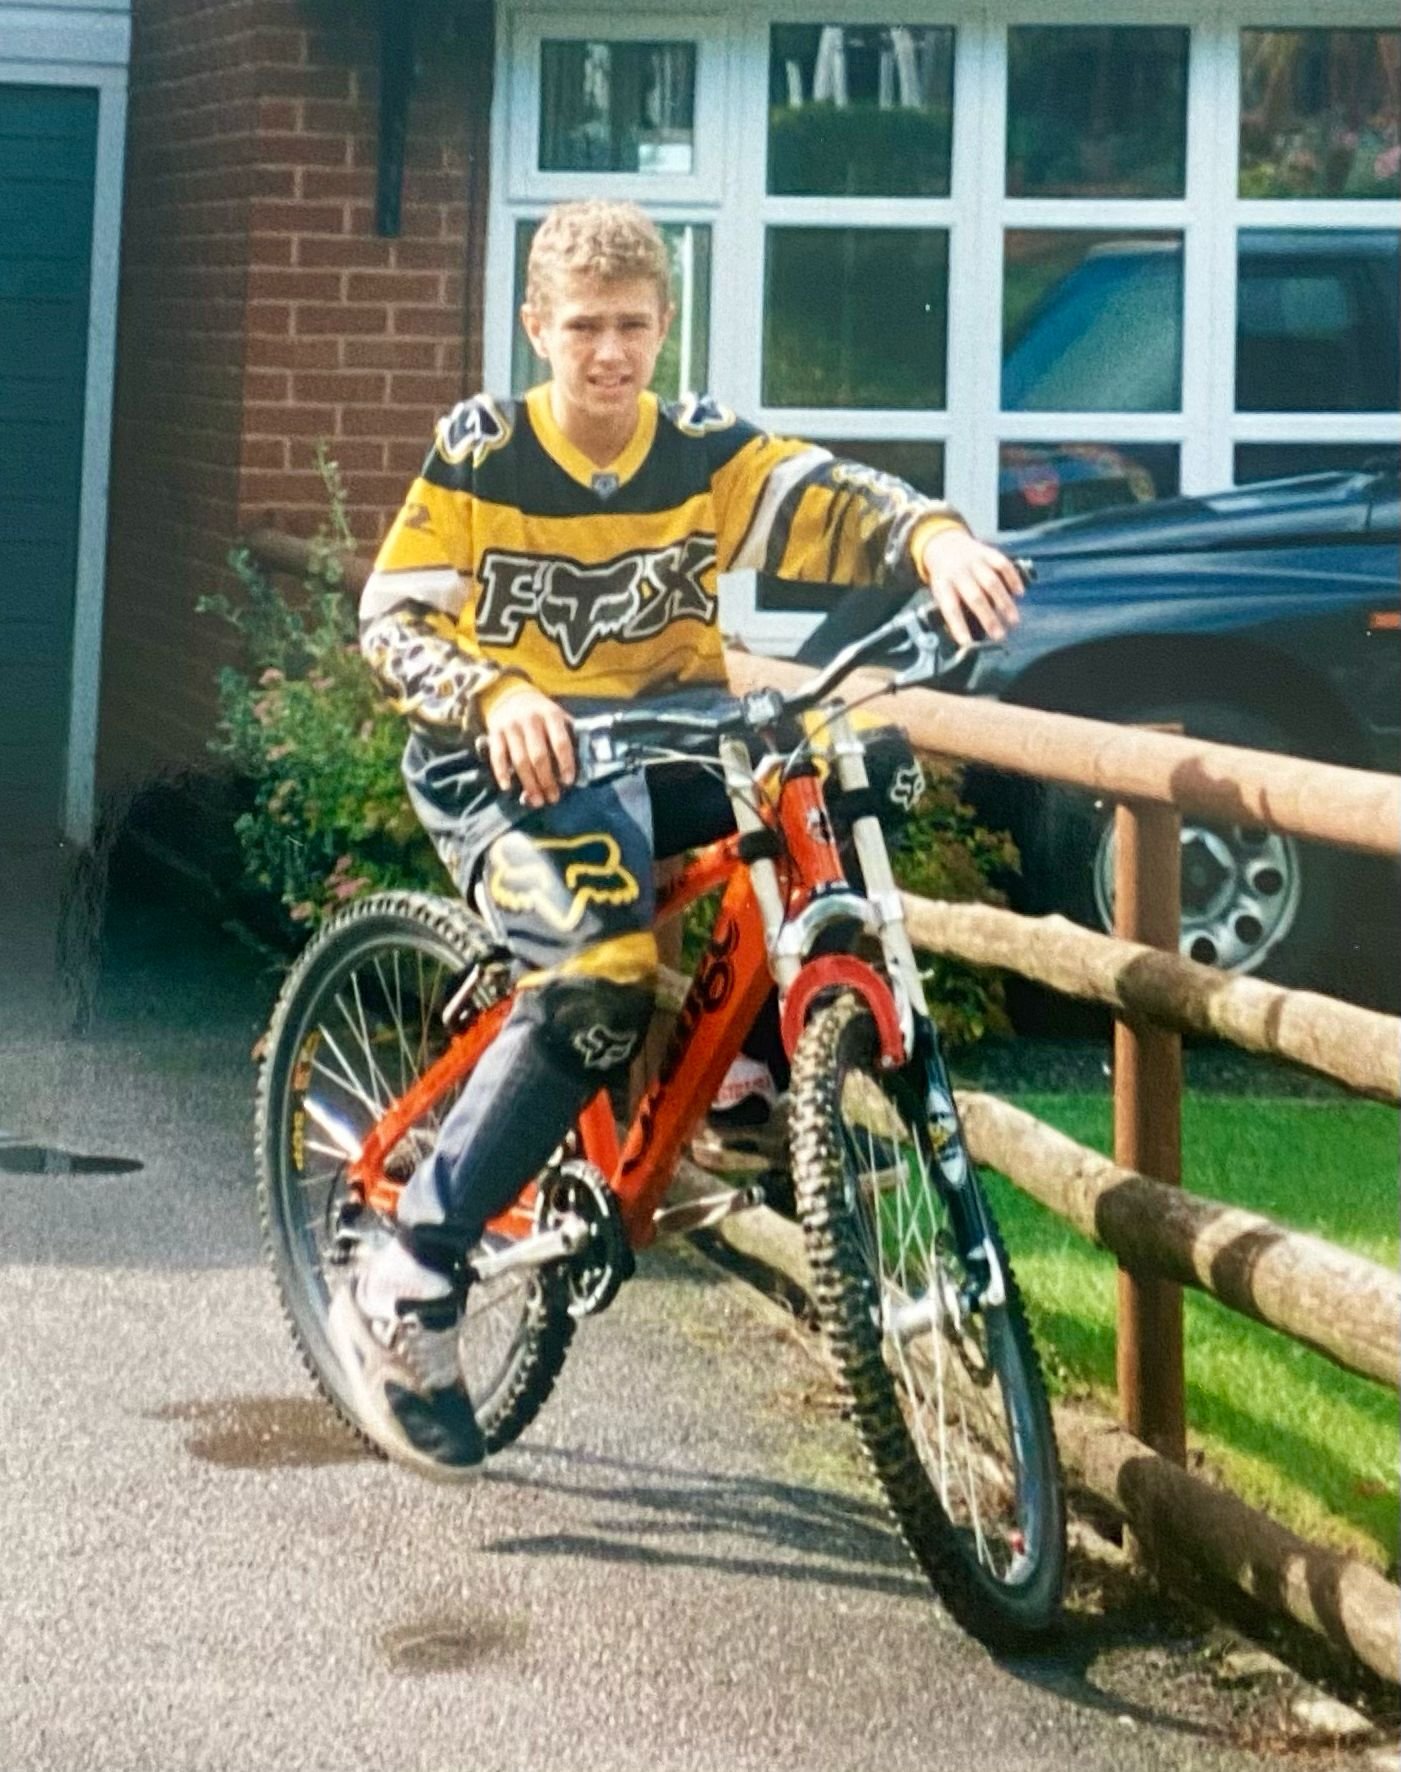
An orange Orange MsIsle lent to me by Davro as a kid was a dream. Then I bought a used Patriot at 14 with my savings that I swiftly snapped in half at the ‘30-foot dropoff.’ This priced me out of MTB for a few years to ride (a £20) BMX.
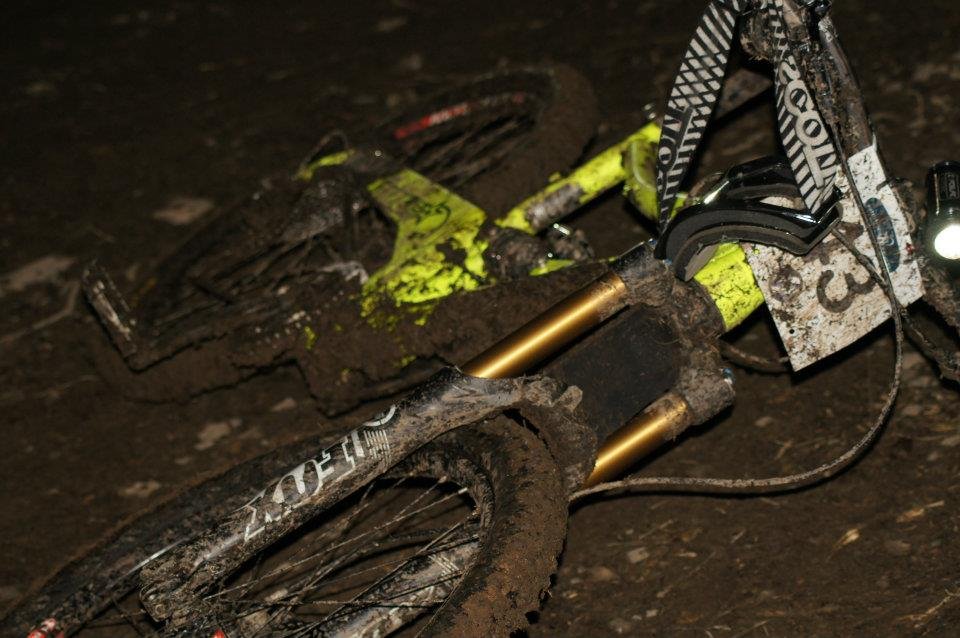
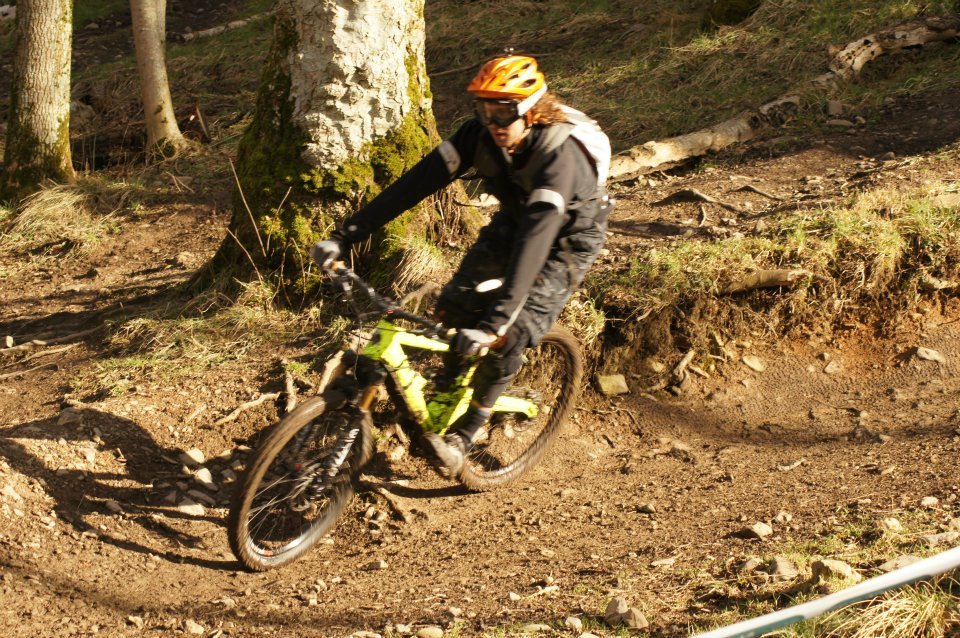
Nearly 20 years ago at 18, I bought a used 222 and then a 223 which I raced lots. One of the last bikes I bought before becoming a bike journo was a neon yellow Five in 2011.
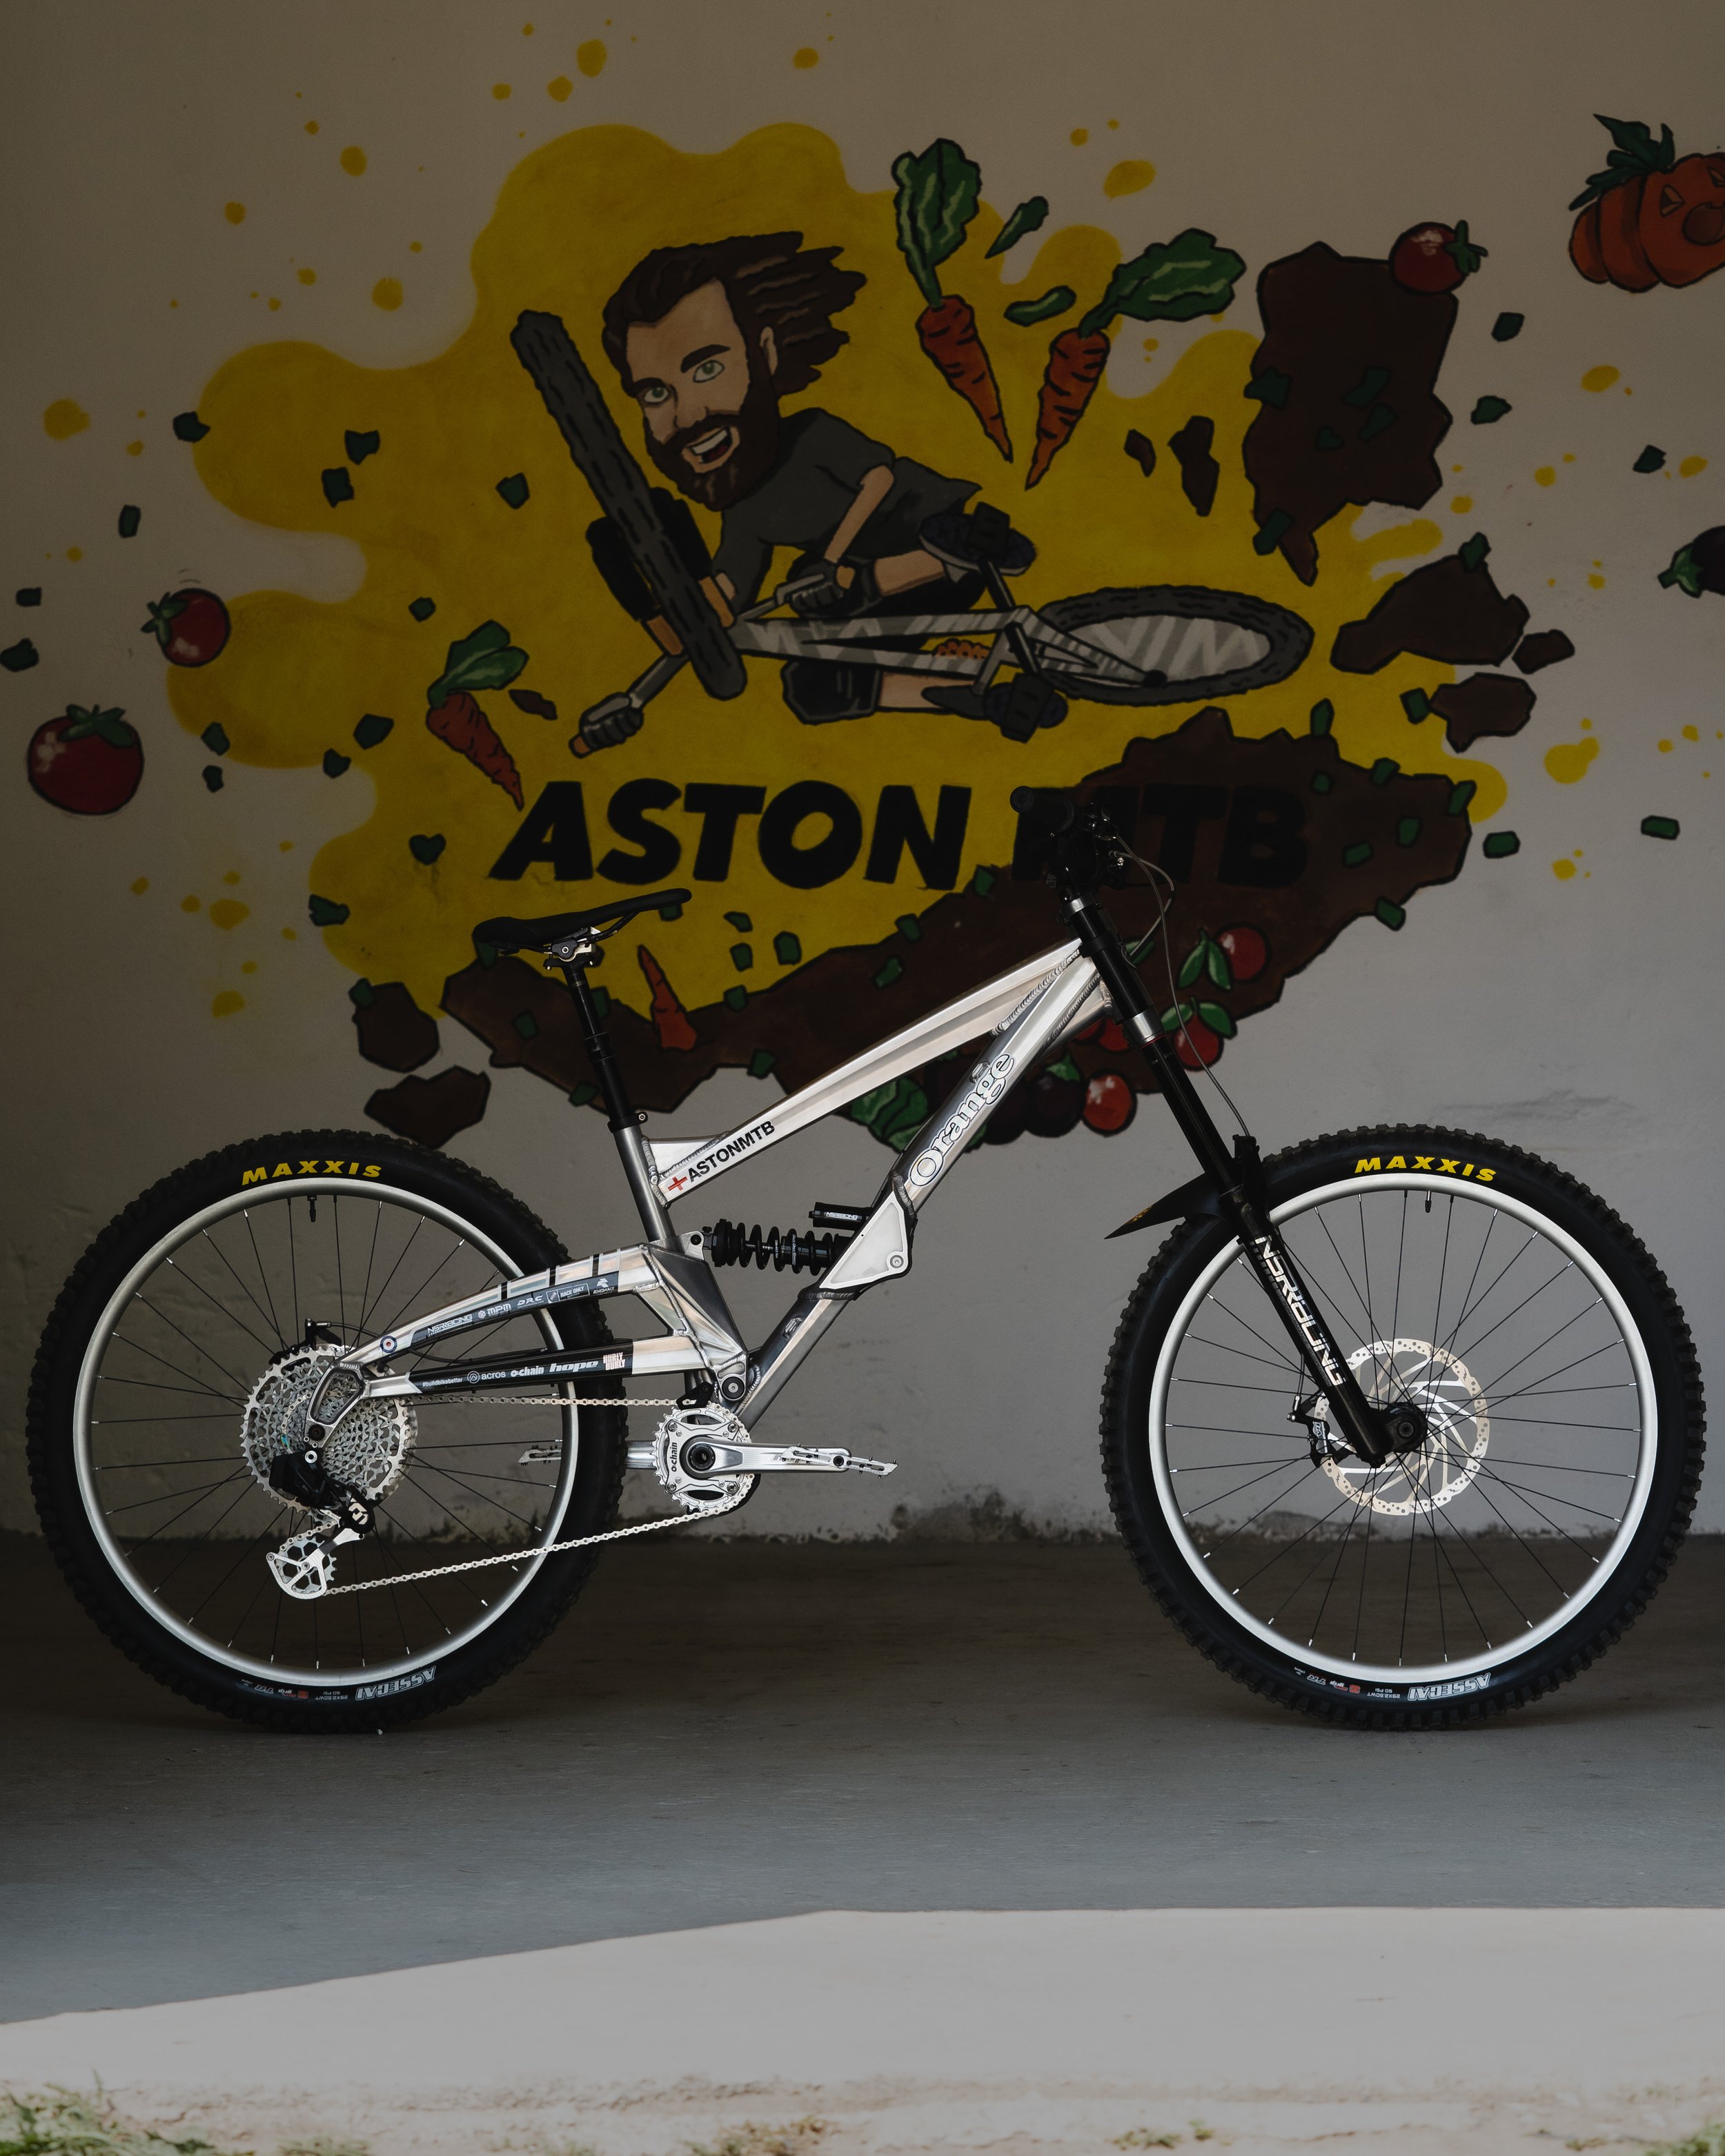
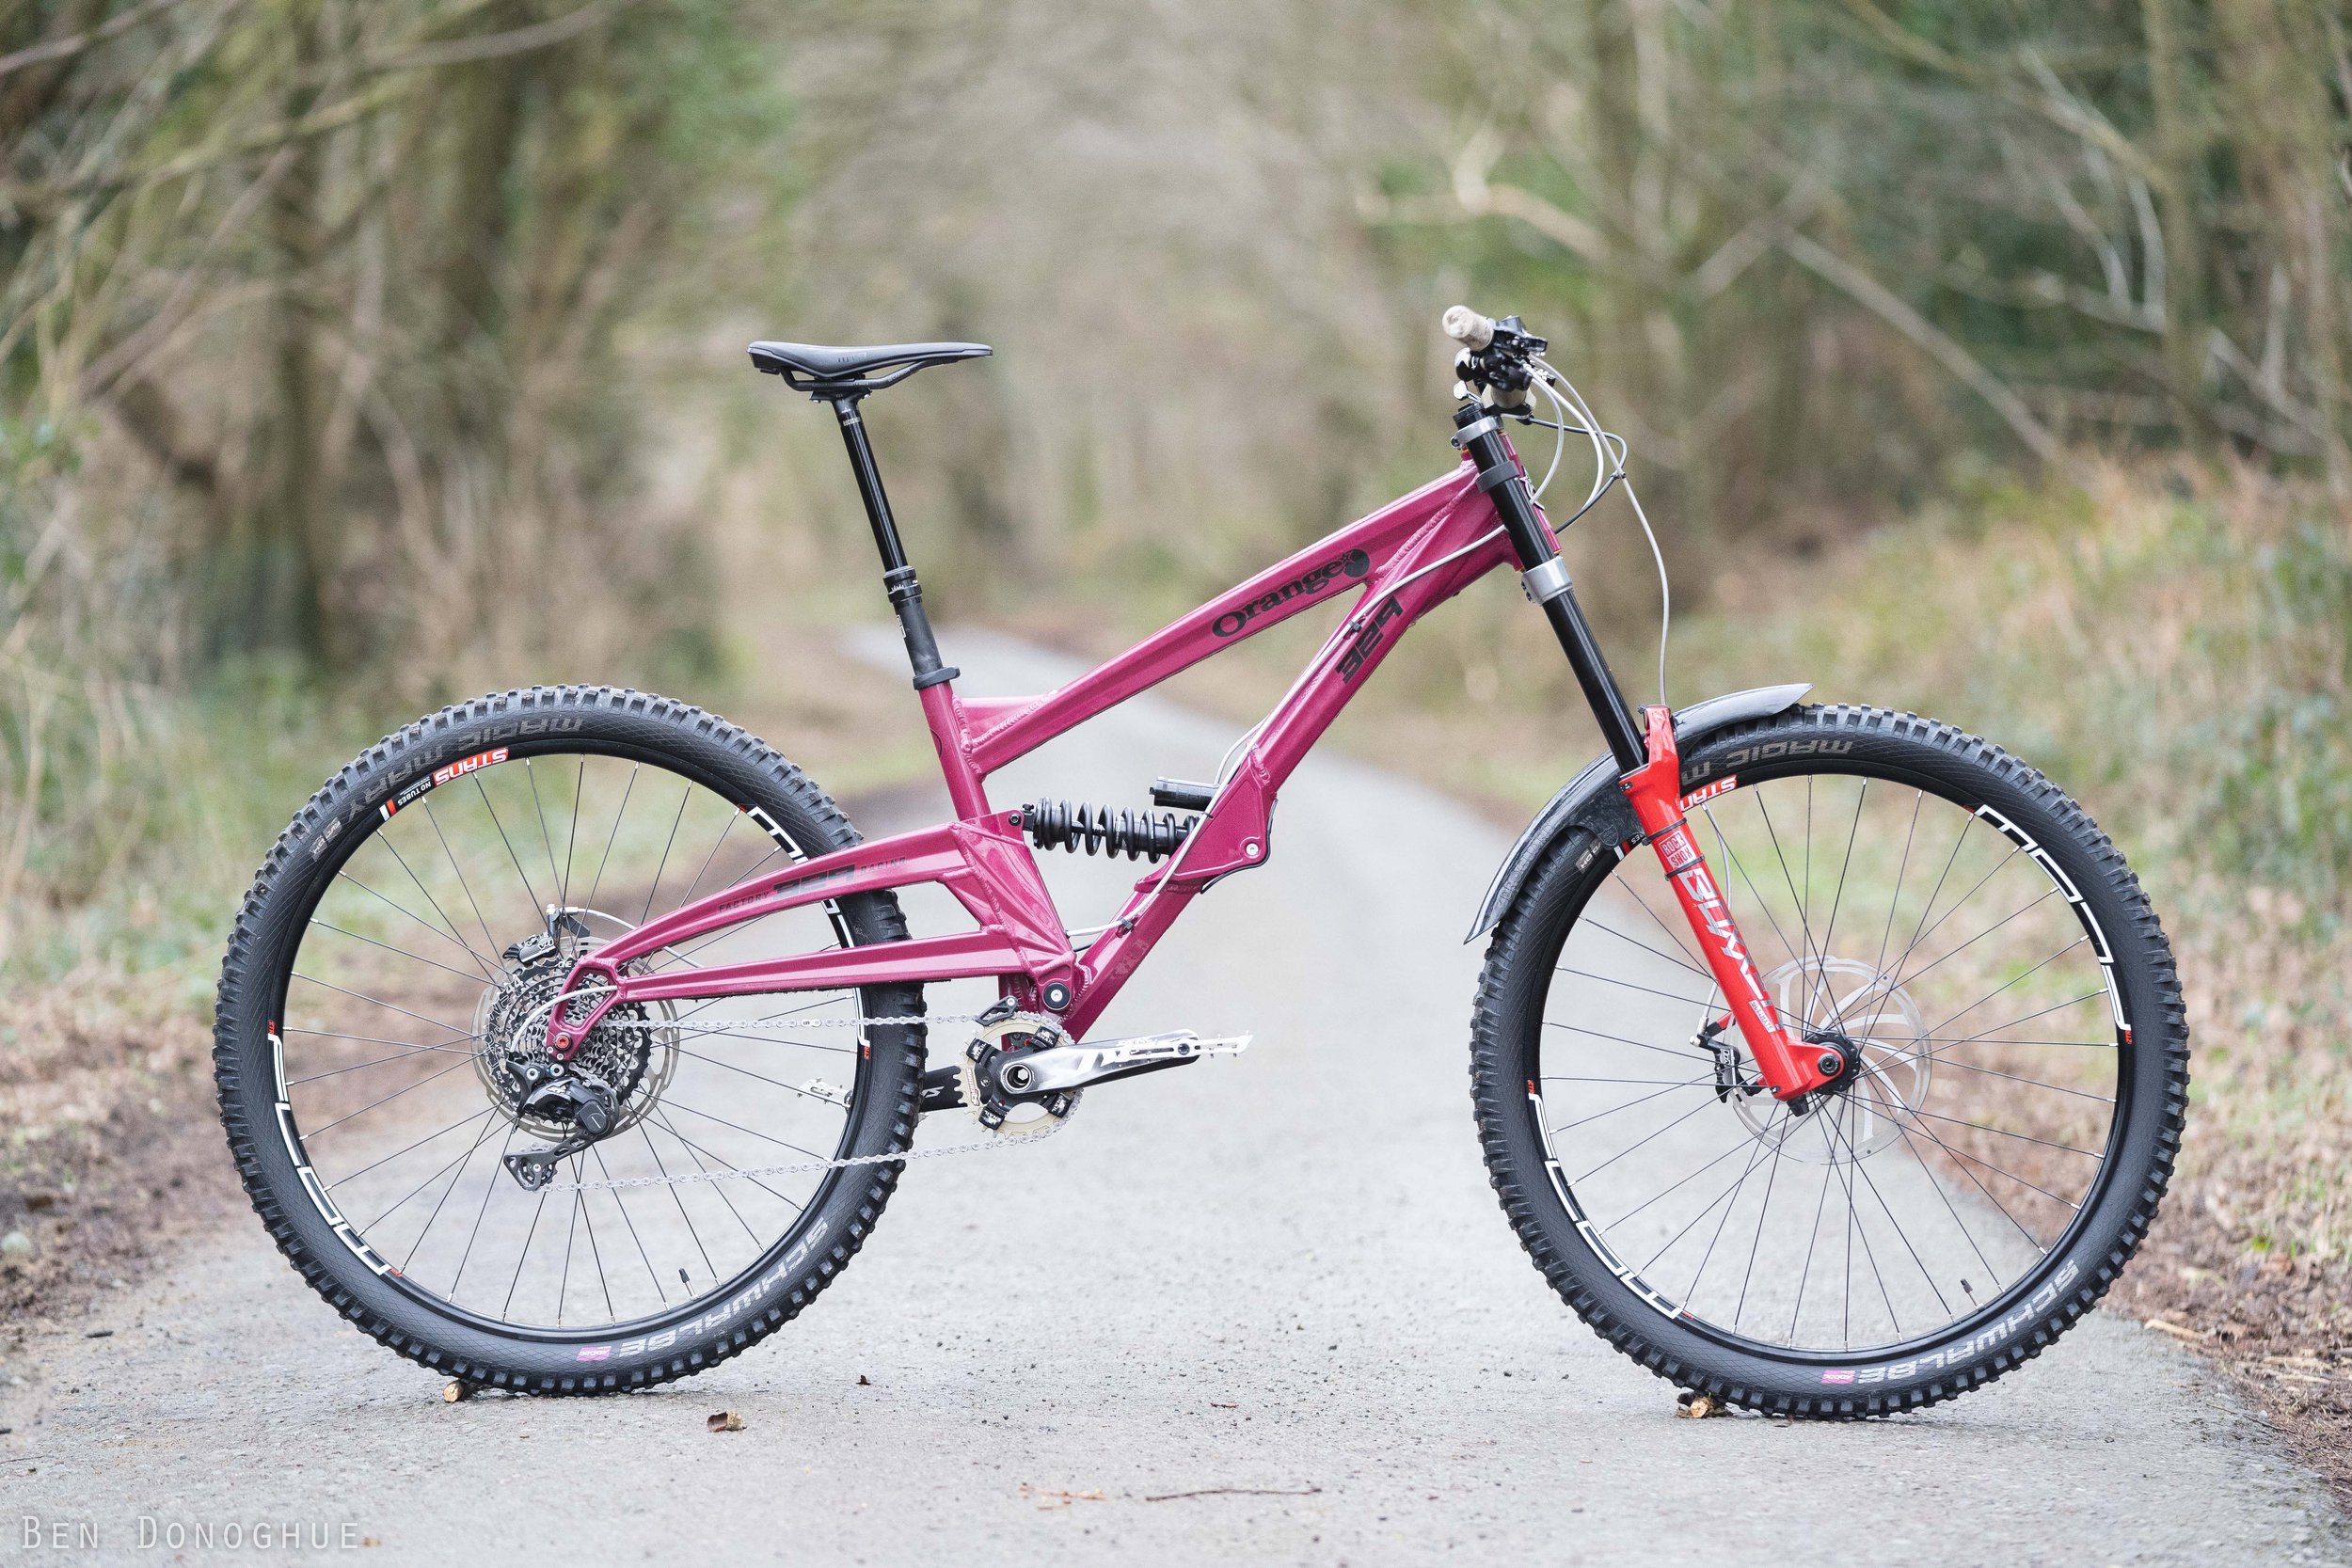
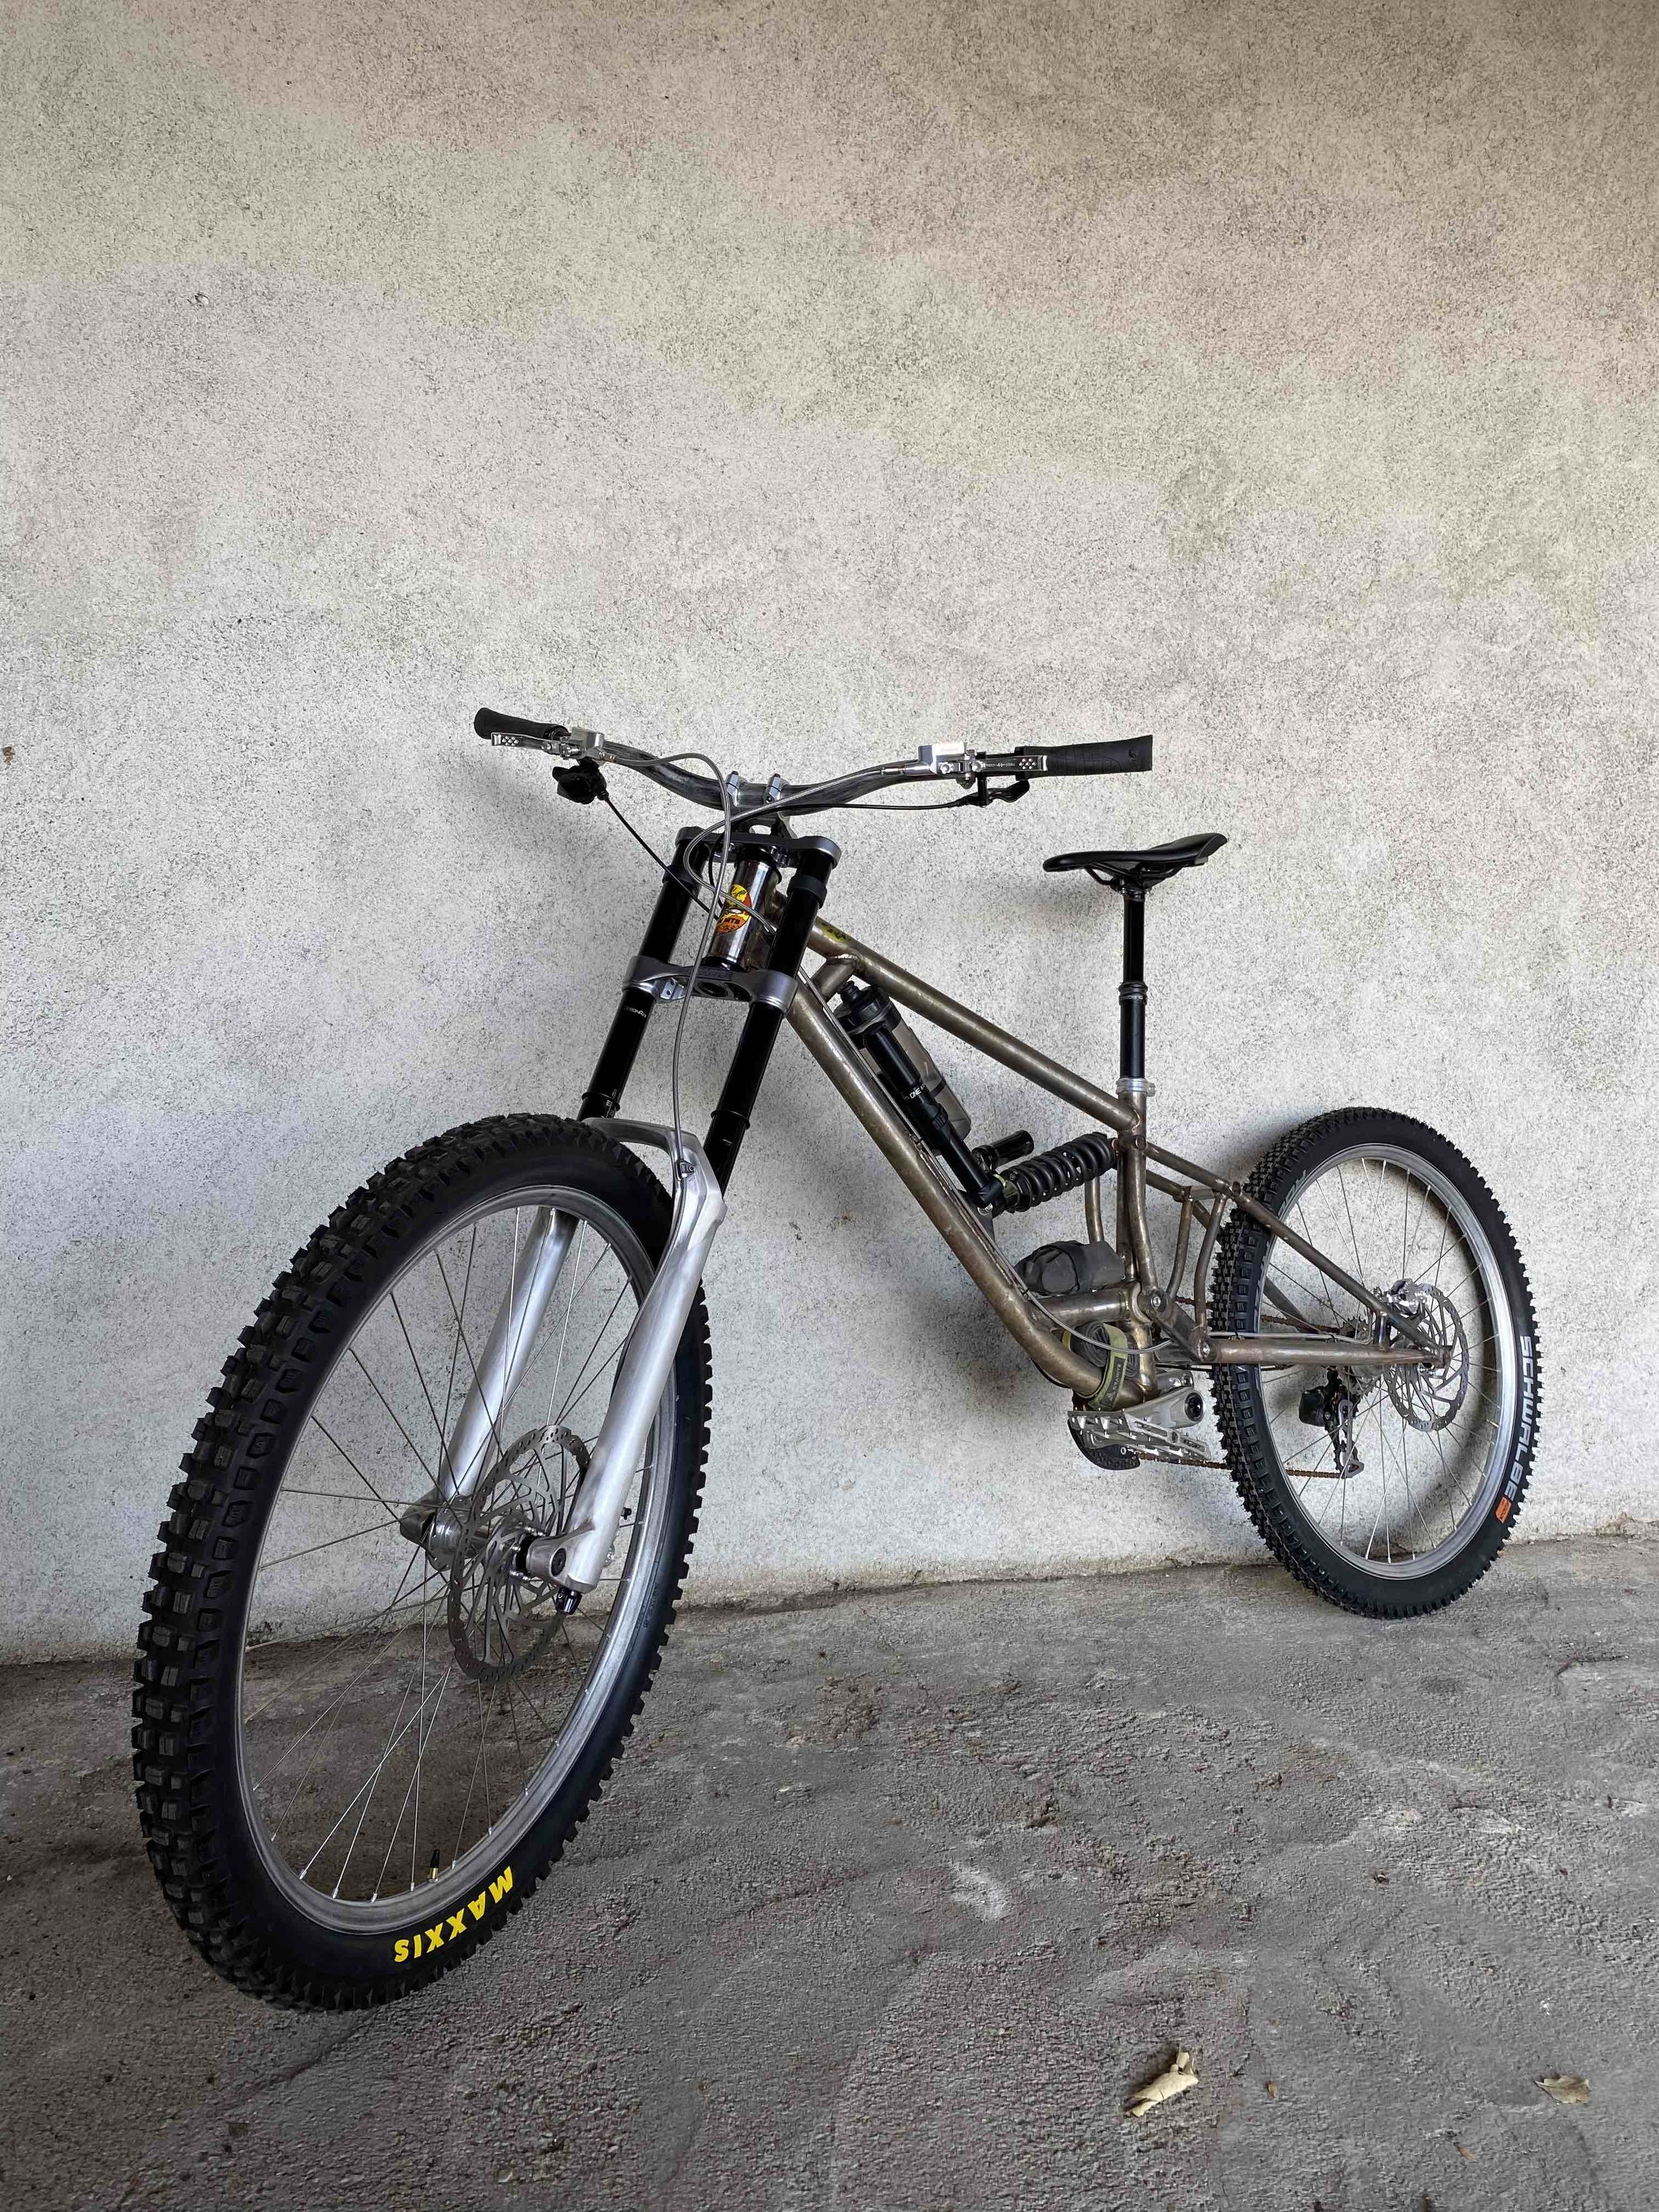
In 2022 I bought the used 329 to test for this latest venture which evolved into a Peaty Replica and was given away in a comp.
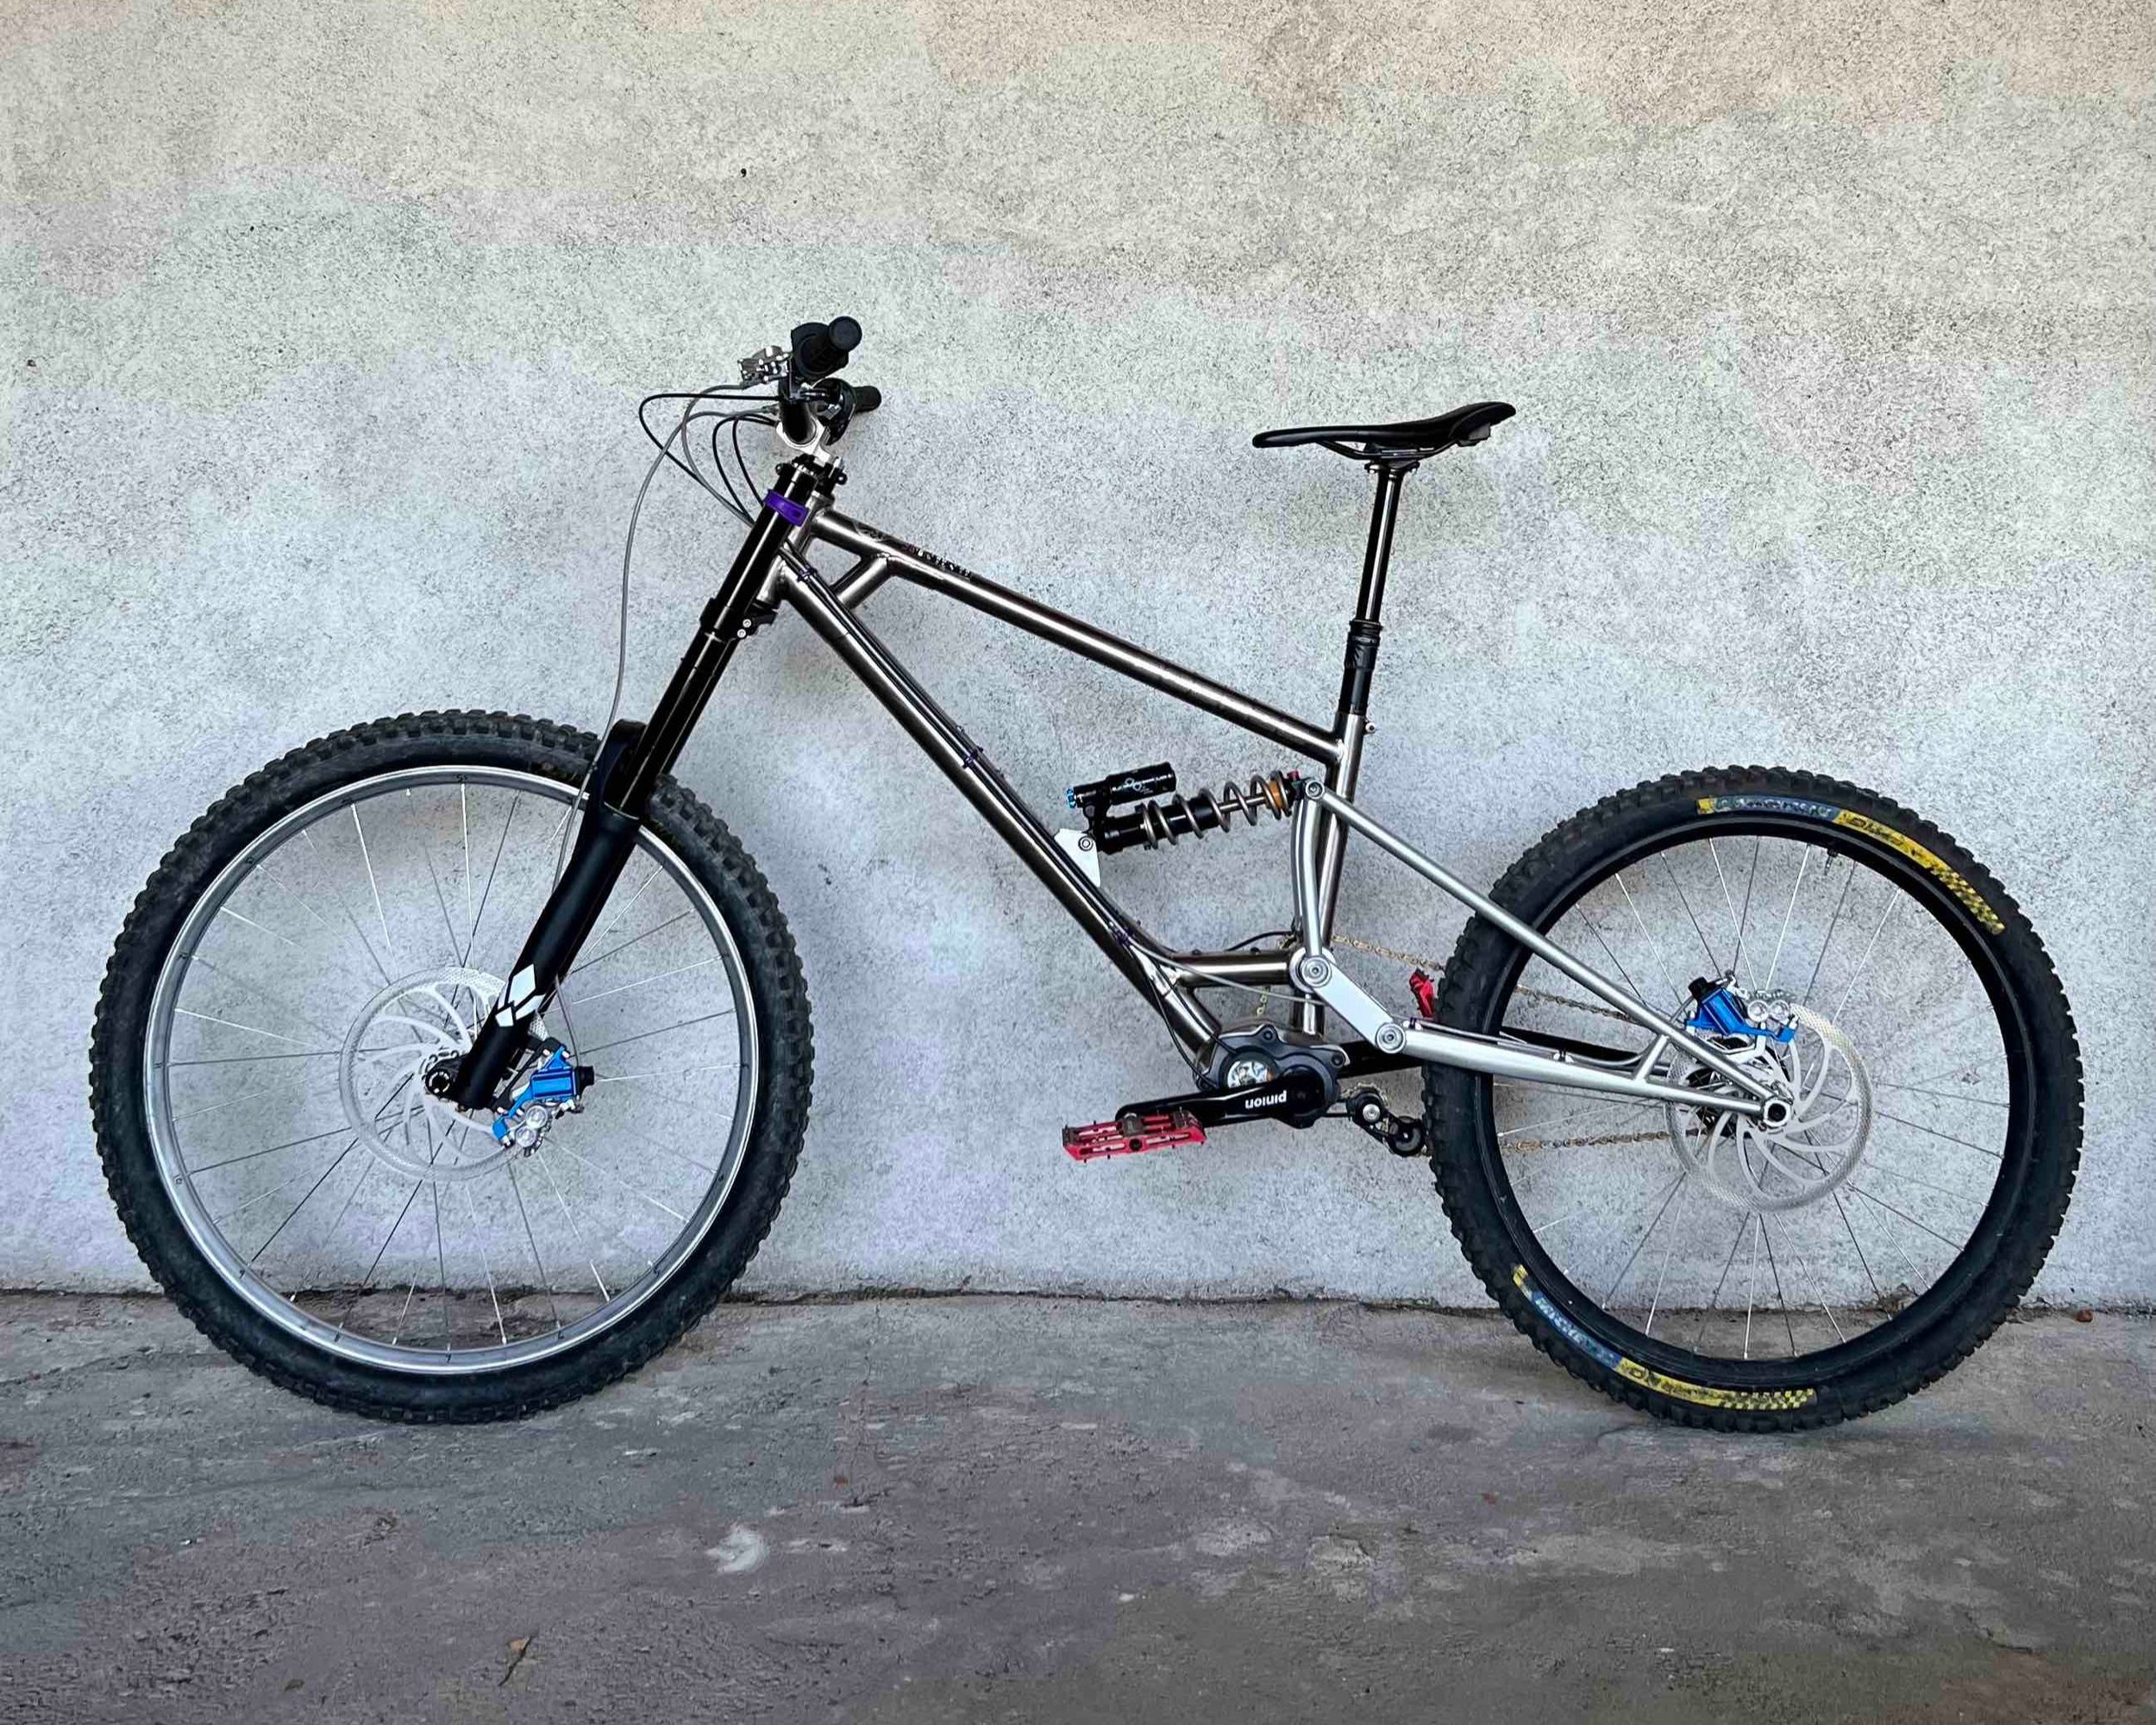
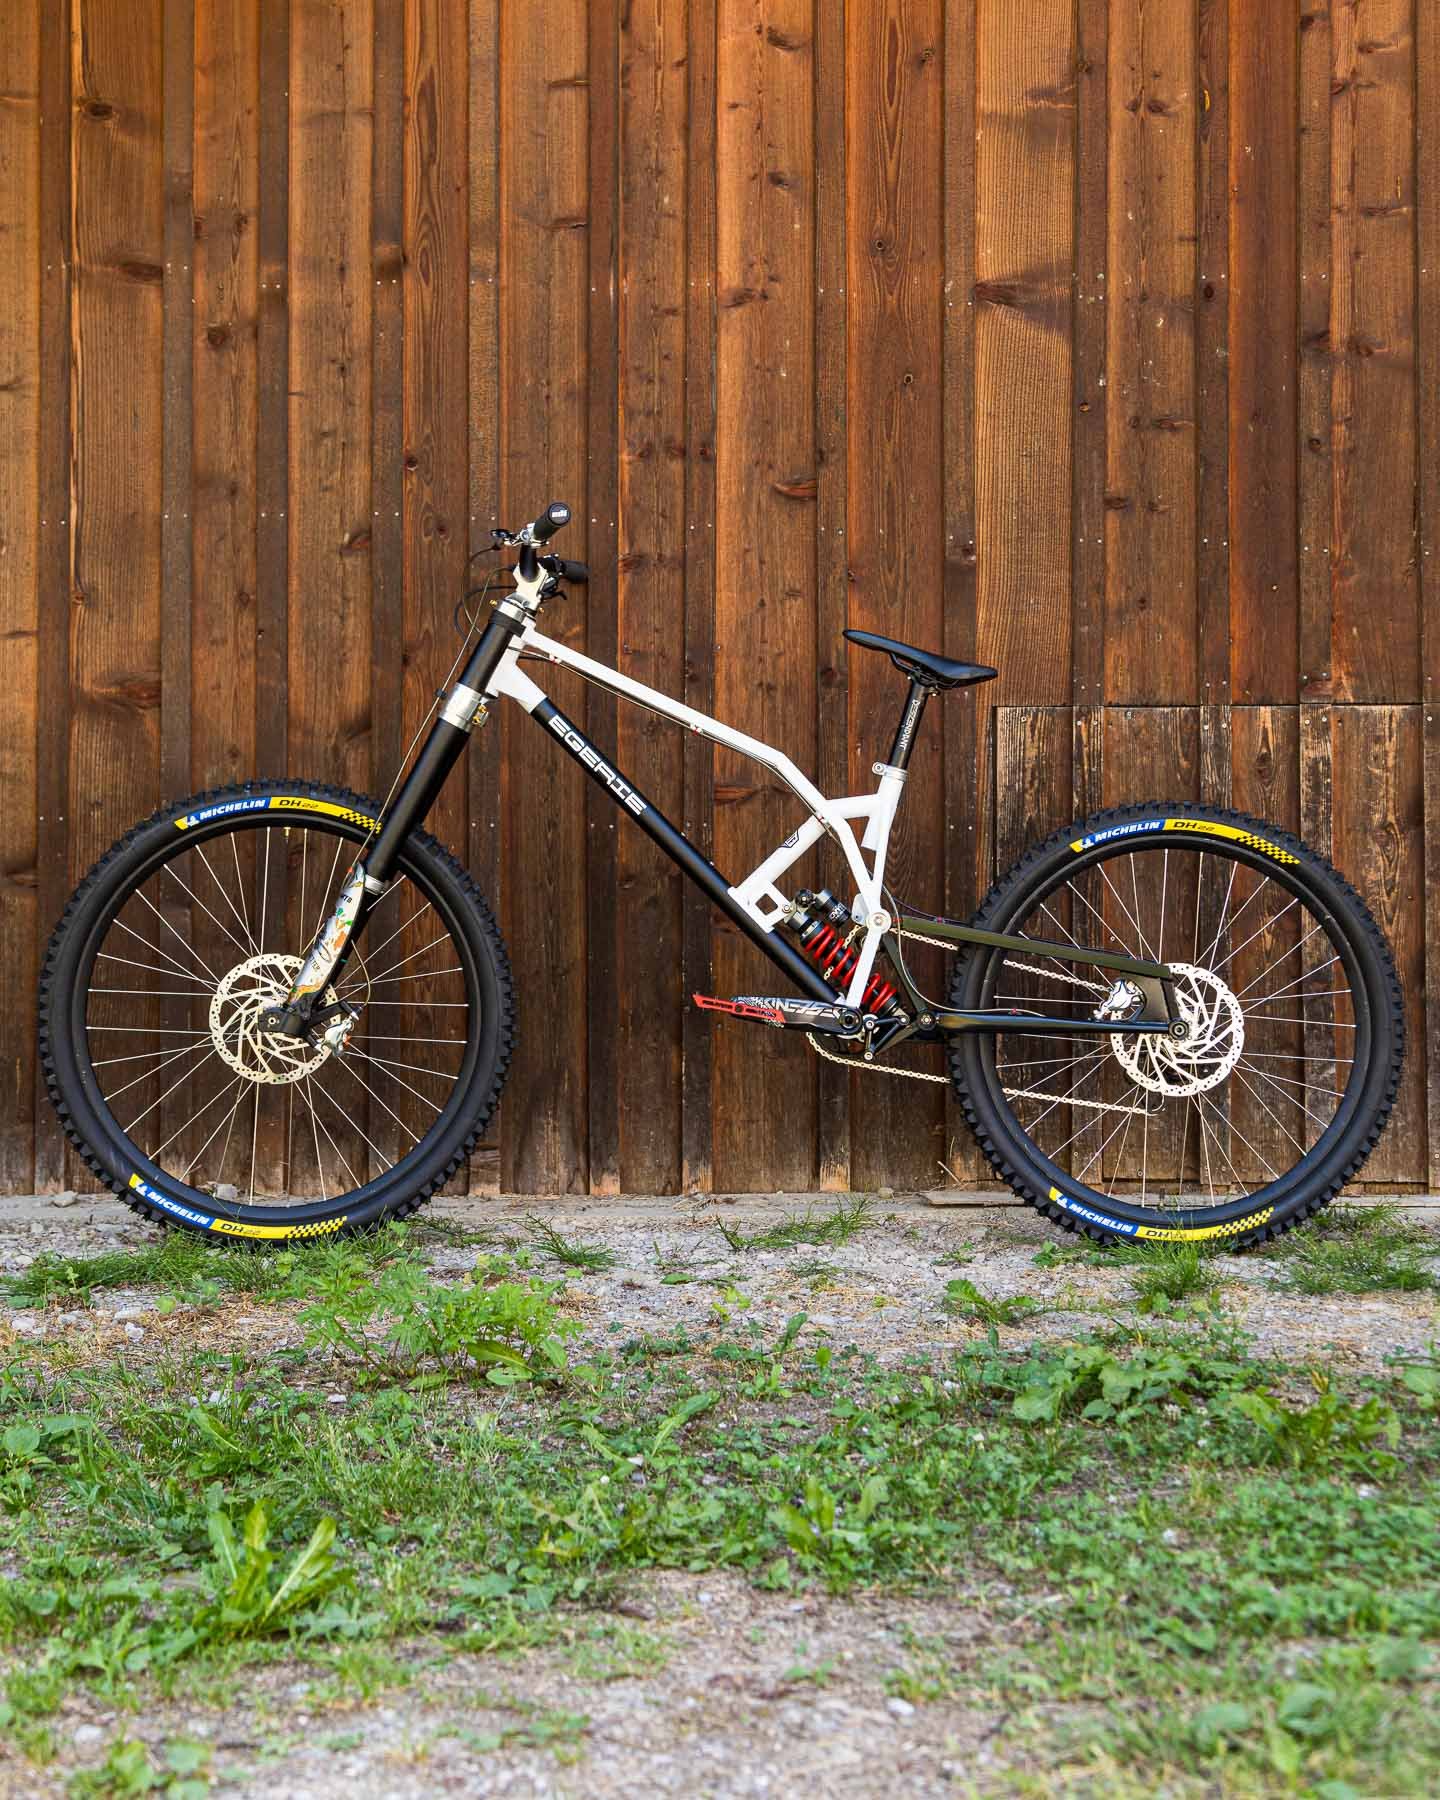
I always loved the ride of the single pivots - they’re not for everyone but with the right riding style of driving through the pedals, unweighting in the rough and braking wisely (thanks BMX) they are great performers. I commissioned my single-pivot steel Egerie after being re-inspired by the 329 ride with a few improvements.
Here are my opinions on single-pivot bikes and their performance and why there’s nothing wrong with it as an overall high-performance bike design if it is setup and tuned well, after all, how many linkage motos do you see?


Anti-squat (AS):
Many people assume that a single pivot (SP) bike doesn't pedal well because there’s no fancy linkage or patented trademark to make it pedal well or tell their mates about at the TrailHead.
An AS of 100%, in theory (it’s all theory based on sag setting, bike shape, gears and assumed rider CoG) means the rear suspension will not move when the rider pedals. <100% it will squat under power, and >100% it will extend the suspension.
The anti-squat numbers on this bike range from just under 100% with a 50t sprocket up to 175% with an 11t and 36t chainring - most of this graph isn’t relevant, what really matters is around the sag point and slightly deeper into the travel towards 50%, and in the easier gears you will generally be pedalling in (this graph only shows harder gears).
AS numbers in harder gears are less important as you pedal in them less often and you're accelerating less than in the easier gears: when you start from 0km in 1st gear you can accelerate quickly to 10km, but try to increase your speed 10km from 50 up to 60km in 12th gear and it’s much tougher. Less acceleration means less AS force is needed to prevent bobbing.
Suspension settings, low-speed damping and leverage ratio also play a big part in how the bike pedals. Also, never mentioned in any graphs is how the rider applies the power to the pedals - take a bike with perfect AS but with no damping and pedal like a psycho it will bob around.
These numbers can be disputed and debated, but the proof is in the pudding - if I stand up and sprint on this 329 with the coil shock unlocked, the rear shock does not bob at all. This is a combination of the frames AS, plenty of LSC on the shock, a linear leverage ratio that supports my weight at the 33% sag point and even the oval chainring helps.
Pedal Kickback (PK):
SP bikes have loads of pedal kickback and your feet will fly off everywhere they say?
This Orange has something like 8º of total pedal kickback in 36/16 gear - I don’t have the exact numbers but would be great if someone wants to calculate them.
The total degrees of PK is calculated from 0mm to full bottom-out around 203mm (after I removed the shock travel limiter). This total number isn’t relevant apart from huge landings where you will use 100% of the travel in one go. In terms of a big huck to flat you will be braced for landing and a bit more force through the pedals might not be noticed while dealing with the rest of the impact.
For a bottom-out event or when using a lot of travel, you will likely be in a harder gear and travelling at higher speeds to generate enough force to bottom out: harder gears create less PK and at higher speeds, PK is less or zero because of the speed the hub is rotating at cancels out the effect. Also, higher engagement hubs increase PK, so you’re better off with something simple than a pricey hub with lightning-quick engagement.
At lower speeds in easier gears, the PK is higher but less important: you are using less travel when hitting bumps more slowly. You are also at the sag point (33% on this bike at the rear wheel) so total PK isn't relevant as you’ve passed a few of those degrees already.
I chose the 9º Ochain for this bike which helps take out any PK-induced harshness at lower speeds and makes it much easier to keep my feet planted on flat pedals and this bike rides amazingly smoothly. The Ochain also quietens the bike by damping the chain slap and also helps with the braking and Anti-Rise.
Anti-rise (AR) - a great way to start an argument!:
Firstly, I’m pretty sure ‘brake jack’ cannot exist on an MTB, I don’t think there is enough speed, weight, and gyroscopic force. Brake jack can occur on motorcycles at high speeds with heavy wheels - a sharp jab of the rear brake can cause the wheel to leave the ground momentarily, then rebound back into the ground and bounce/reverb to some extent.
The AR graph shows the Orange just under 100% at sag. In theory, 100% means that the mainframe stays neutral under braking and doesn’t tip forward. ‘Theory’ as I believe this is calculated with the brake locked (I asked 5x pro bike engineers and no solid answer!) which, ideally, you never do on the trail. The calculations don’t take into account fork settings, geo, bar height, rider weight, gradient or jabbing the brakes in huge braking bumps.
>100% it’s said to squat - I don’t think this happens on the smooth ground as rear spring/damping/friction overcomes the force generated. There is a difference when hitting bumps and braking as it pulls the suspension down into the travel, this can feel a little harsh but keeps the bike slack which I prefer to it pitching forward and getting steeper.
Like the previous graphs, most of it isn’t relevant: if you are locking up the rear brake and using 60-100% travel at the same time, you probably have bigger problems coming towards your face than a graph.
Many Horst links claim ‘completely free’ suspension under braking. Horst bikes are usually around 50% so still have some influence on movement when only 0% gives truly free suspension movement. 100% is where many DW-Link and other brands aim for and what many people want.
The proof is in the pudding again: the 329 is incredibly stable under the hardest braking which is much more important than ‘free suspension’ and lots of chassis pitch - if the chassis is pitching, you are leaning back, then not slowing down mostly using the front tyre.
Leverage Ratio and Progression:
“Single pivots Bottom out too easily because they are linear”
Firstly, no SP bike can be completely linear, it must have some progression/digression.
The 329 has a low leverage ratio from around 2.8 to just under 2.6 giving 10% progression (calculated by AndreXTR) for the original 190mm travel.
I’ve been using it with a Race Only Progressive coil which is said to have 15% progression over the last 30% of travel which should be 26.5% overall progression. I'm not sure if I needed this spring on this bike, as there is so much mid-stroke support from the more linear ratio despite using 33% sag and the NSR shock tune. If needed, I think a progressive spring is a better idea than a more progressive linkage as the spring doesn’t affect/multiply the damping forces at the same time.
More important, is enough compression damping to support your weight and riding style and the speed at which you hit obstacles. I believe this is more important than progressive leverage as it's the damping that slows down the shaft speed by absorbing force (spring does not absorb force), so if you reduce the shaft speed sooner then there will be less force to deal with at the end of the stroke. Most stock suspension has low amounts of compression force and brands never publish those graphs, so you need a dyno or to play guessing games to find out.
Another thing that is always omitted in ‘coil vs air’ graphs is the bottom-out bumper, which adds end-stroke ramp-up and avoids the harsh metal-on-metal feeling. An easy way for tuners to increase bottom-out resistance is simply to put a bigger/firmer bumper on there: low-tech but effective.
Anyway, the proof is in the pudding like always: I have only felt this bike properly bottom-out once, despite running 33% sag. After this event, we increased the HSC tune and have not felt it again.
Even with that much sag, it's a very responsive bike, it pops off jumps well, and the pumping and corner support are really, really good too!
Suspension Friction:
I believe suspension tuning and setup is the 2nd most important aspect of MTB performance. The 1st is the correct sizing, fit and geometry: if your bike is the wrong size, you can’t reach the brake levers or has XC geo and you want to ride DH, the rest is a waste of time.
Friction is the most important suspension factor, if there is too much friction, it doesn't matter what fancy technology you have as it won’t work at its best on the trail.
The single pivot has a big advantage of very low friction due to only one pivot - every time I have stripped this bike the swingarm is always very friction-free. This could be improved with spherical shock bearings, but 'BigMTB' has decided we’re still not allowed that, just yet! I guess it will arrive one day with all new ‘standard’ shock sizes in the future.
But, we did get special hardware and bushings from J-Tech, who also serviced and sized all the moving parts of the front and rear suspension.
We dropped in coil springs front and rear, of course. This removes a lot of seals and servicing needs compared to sub-standard air shock. I think this makes the most difference in tracking and grip on smaller bumps. It also helps in very rough sections at higher speeds as you don’t suffer from massive increases in friction on the air seals as the shaft speeds + air pressure + flex/twisting in the chassis, plus there’s the adiabatic rabbit hole we won’t go down…
We also added a thrust bearing on the rear spring for good measure and kept on top of lower fork servicing every 2-3 days maximum.
I wouldn’t trade this bike for ANY other bike in the world with stock suspension.
Springs and Sag:
It’s easy to get carried away with all the different suspension talk and tech, people hiding tips and secrets and pretending to have black magic and brand loyalties. But, there are some basic principles that are what we should be aiming for.
I believe we should aim for the most linear spring rates we can - every air suspension-related PR for years has mentioned that elusive ‘coil-like feel.’ Which has simply existed forever in any ‘coil spring.’
This ‘feeling’ is said to be more and more coil-like every year, like those washing powder adverts always making clothes whiter, air spring graphs get more and more linear: I’m still waiting to see one from the big names with numbers on the axis too, I would prefer that over an artists impression of the spring curve.
A linear rate makes it easier to predict how the bike will react and makes it easier to tune the suspension. The only reason I went for Progressive Springs is that it’s the only kit available for Boxxer.
Getting progressive springs F+R should match nicely and give a good balance. I was hoping/guessing the 10% rear progression from the frame would match similarly to the air build-up/progression found naturally within the fork legs.
Sag. Rear sag has always been advised as 33% or 1/3 of the travel. I think fork sag should be around 18-20%. I’m not sure it's possible to balance any MTB available right now with 33/33% sag or the ‘perfect balance' between F+R wheels as weight shift when descending or braking needs to be accounted for.
After the sag and spring rate is set it should not be changed to suit the trail or riding style (unless you want the suspension to not work properly for things like dirt jumping, XC sprinting or pure hucking). The damping should be used to finish off the setup, not adding more pressure or tokens to change the sag and bottom-out resistance.
Damping:
Once you have your springs sorted and sag set around 33% (at the rear axle, not at the shock shaft) and around 18-20% on the fork stanchion. You can dial in the compression damping.
I think it’s pretty hard to have too much compression damping on any current MTB products. However, it is very easy to think a product has too much damping when it becomes harsh from friction and other forces all coming together at the same time as the compression builds up.
If you have a very low friction chassis and spring, plus a damper that builds up the forces smoothly, you can use plenty of compression with no harshness. My Dorado RRT and tuned Heritage units have 8-10x more damping force than some stock Fox units, for example, with no noticeable harshness.
I don’t know the numbers for these RS products but they are much higher than stock. No harshness anywhere as the entire package works harmoniously after all the work we did on it.
Compression damping is there for 2x reasons. Firstly to keep the chassis of the bike stable: under braking, as the gradient changes, through compressions, around corners and against your body's movements.
In a perfect world, the chassis, which is your mainframe, would always be at the exact same angle compared to the ground and would never pitch forward or back in any situation.
This Orange is very close to that for me in this setup. When you get to this point the bike is very easy to ride, very predictable, always confident and allows you to brake very hard mostly on the front wheel - this slows you down more and reduces any Anti-rise problems you might think you have when using the rear brake.
You will find yourself riding in a central position and rarely having to move your hips forward or back. This means that any situation you find yourself in on the trail you will be in a strong position ready to deal with it.
So now, in a perfect world, you have something like 30-33% rear sag and 18-22% front sag when you're standing up with your riding kit on a flat surface.
The theory is that when you descend your weight will shift forwards and will be closer to (I'm guessing now) 28/25%. Under hard braking it might be equal and ideally never biased too much towards the front: nobody wants their head angle getting steeper when braking downhill.
The second job of the damping is to keep your wheels connected to the ground which is generally more high-speed compression-related.
It's worth noting that HSC and LSC compression aren't black and white. There's a continuous range of damping and 'mid-speed' overlap that depends on each product and the adjusters. E.g. I kept adding more LSC to my Kitsuma shock on the Supreme for more support in berms. After discussing and using data with Rulezman we found it was actually the HSC I should have been using to try and solve that issue.
To keep the wheels connected to the ground, you need compression to slow the shaft speed down when you hit a bump. Let’s say you hit a 100mm high bump fast, the wheel may accelerate too fast, use 120mm of travel, then your tyre is no longer on the ground and you don't have grip. Essentially the faster you are travelling and the bigger the bump the more compression force you will need.
Finally, on big impacts, the compression should slow the shaft speed down enough that it doesn't reach bottom-out. If you have good settings, bottom-out events are rare, or are so huge that you can see them coming, brace for it, and let a decent-sized bottom-out bumper save the day.
Again the proof is in the pudding: I can run correct sag on this bike, never bottom out, and hit bumps as fast as my skills allow and it always feels like the wheels are connected to the trail.
Rebound:
It is the simplest part of suspension design and setup. I find it funny when I’m not in the middle of the clicks for my distinctly average 70kg weight, or worse, right at the end of a rebound adjuster.
It should do two things: Be fast enough to stop the bike from packing down on repeated bumps. Be fast enough to extend the wheel after a bump and/or into holes.
Packing down is easy to feel: faster rebound helps this. Suitable compression damping will keep the suspension higher in its travel so this is less likely.
Being fast enough to extend down the backside of bumps keeps the tyre in contact with the ground meaning you are still gripping. The faster you are travelling and the bigger bumps the faster it should be.
A ‘loose’ feeling on the bike probably means the rebound is too fast, a dead feeling means it's too slow. Some riders can feel the wheels not extending fast enough on the backside of the bumps and the wheel leaving and re-connecting with the ground.
Generally, rebound shouldn't be used to stop ‘bucking’ on jumps. A common mistake: riders think if they get bucked on a jump it's because the rebound is too fast on the rear shock. Usually, this is caused by a lack of compression damping, too much travel gets used on the face of the jump too quickly and then it rebounds too much. Increasing compression damping will use less travel on the face of the jump and then there will be much less rebound force to deal with.
My final thoughts on suspension:
Find a good tuner. Build a relationship with them. Work on what you have instead of buying the latest and greatest - where often the most problems are found. E.g. basically every latest gen X2 shock failing, my DVO not being assembled correctly and the Ohlins 38 going back for warranty after 4 days of use. Allow a new product a year before buying so any problems are ironed out.
If you find a good tuner, you’ll be very close to ideal settings from Day 1. Then you can easily fine-tune to get good settings. In the past, I’ve spent weeks faffing to make things work. In the last year, every pre-tuned product I’ve had has been working great in a couple of days and clicks!
Geometry:
Without correct sizing and good geometry, there is not much point in trying to tune the rest of your bike.
This Orange almost had DH bike geometry to begin with and everyone knows that DH bikes handle the best in terms of stability and cornering. For 20 years I always wanted a mix of DH bike handling and a good seat position for pedalling.
We all had to suffer for years with XC-derived geo for enduro or trail riding, going over the bars too often and having crap cornering abilities; luckily Mondraker and GeoMetron sorted this out for us and I blabbed about it being great against harsh criticism for years at Pinkbike. But now we finally have a lot of bikes on the market with great DH geo and better-than-XC seat angles and climbing shape.
We sorted the silly 64.5º HA with a -2º Works Angle Headset. I never understood why 29ers were made worse for years by designers trying to keep wheelbases at made-up ‘correct’ numbers (or reducing the travel) always saying things like “we put bigger wheels on so it's more stable and there is less risk of going OTB. Then we made the HA steeper so it’s less stable and more likely to send you out the front door.” Anyway, Orange have seen sense and their new 279 comes with a 62.5º HA, similar to this 329.
The seat angle was surprisingly good (and looks much better on the 279) for climbing considering it wasn’t designed for that and was helped a little more by the Aenomaly SwitchGrade. The long 469mm chainstay adds great climbing support and this bike has overtaken many people who were looping out on steep techy climbs on bikes with shorter chainstays and lower weights that ‘should’ climb better.
There’s also a great balance between the front and rear of this bike, the reach was 475mm and is a few MM shorter with the Angle Headset. Not a huge bike, but for some reason the longer chainstay makes the front end of the bike feel roomier...
It’s not the number of pivots that counts:
All of this rambling was to make a point to riders and consumers that there is much more to bike setup, handling, and performance than the number of pivots a bike has. Mainly because many people comment online and in reality and dismiss most single pivots: they can’t all be tarred with the same brush and performance references to ‘someone’s mates Orange they had back in 2002 that sucked’ are not valid, a lot has changed since then!
In fact, the number of pivots, acronyms or patents that brands love to market has very little to do with the complete bike working well for you.
The great thing about Orange Bikes, whether you love them or hate them, is that they are one of the few brands that don’t really care: they just keep making what they believe in. They don’t get caught up in the hype, rush out new things just because a new model year is upcoming, and seemingly don’t answer to investors demanding something new because that’s what the competition is doing. Unfortunately with the recent news this may not have been the best business strategy.
Overall, this is probably the best all-around mountain bike I’ve ever had (Summer ‘22), definitely the best in the last 12 months. Only possibly equalled or beaten by my 210mm travel Nicolai G1 Ultimate from a few years ago. For me, I think the Orange gets a tiny advantage from the longer CS, simpler design and even more industrial look, plus a hint of nostalgia from watching Peaty and owning four Orange’s when I was younger.
What a bloody great bike:
The Orange 329 has been an incredible bike but here are the negatives and things I would like to upgrade:
Orange’s email response time is basically very long or zero. Their Instagram guy, though, is bloody quick and is one of the few brands that happily share my stuff!
I would like a slacker HA and steeper SA as standard: sorted on the new 279.
Mullet wheels. I think these have to become the future ‘standard’ mainly for stiffness reasons between the front and rear wheels: sorted on the new 279
157mm rear hub spacing. The 329 has 150mm which is nearly the same, but without the recesses for the axle to slot into. This means a bit more faff when installing the rear wheel. It’s then also quite hard to close the pinch bolts on the drive side as the derailleur blocks the bolt access.
Spherical bearings at the shock mount. SP designs can mean some sideload/friction at the rear shock which could be improved. Also, the shock hardware is not great and can start to rattle quite quickly along with wear on DU bushes.
Hope Brakes - this bike already has the Tech 3 V4’s which are good enough with 220 rotors and good pads, but the new Tech4 lever turns these in to a whole new, and much much better brake, surely the best on the market right now?
AXS dropper. The final thing I wanted to upgrade on this bike was an AXS dropper to match the gears and further clean up the cable routing. I nearly justified the £750 spend then realised the Aenomaly SwitchGrade doesn’t fit the AXS version of the Reverb so kept the standard Reverb which sucks like most of them. We’ve bled it 4-5 times and it’s impossible to get the last bit of free play out of it.